Are you facing a lot of issues with the system? Such as system lagging or applications responding slowly? Well, the CPU is an important component of the system. Every process that runs on the system, uses the CPU.
If you’ve been facing issues on the system then its because the CPU disk has been used too much. There are times when you notice that a certain application or a program is using a major percentile of the CPU space. If that happens, the system becomes too slow to respond.
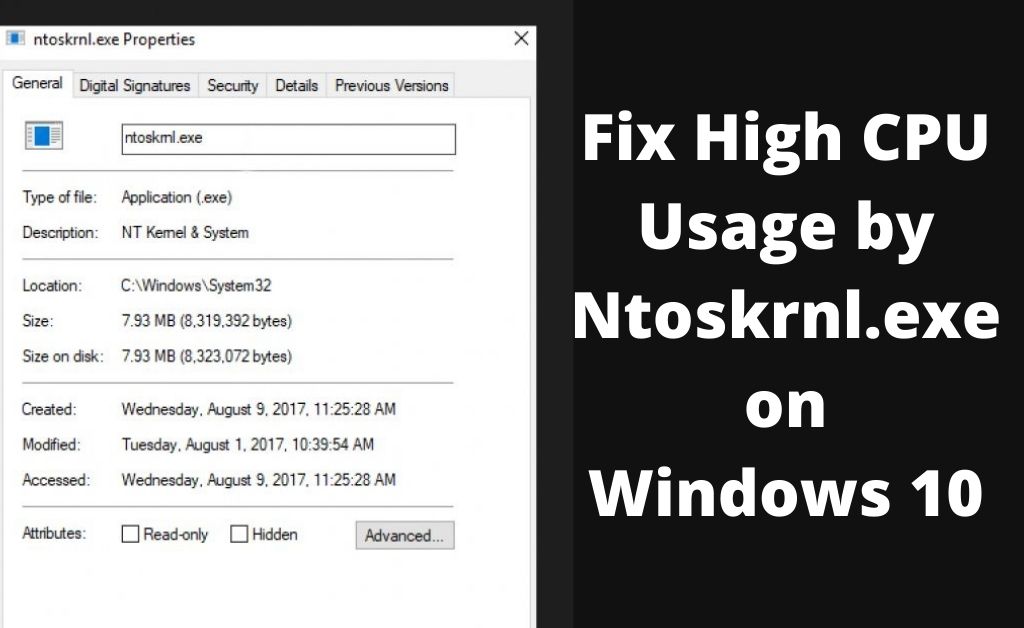
Unfortunately, if you see a file named ntoskrnl.exe eating up most of the space in CPU, then you’ve come to the right place. Get to know about what the file is, why it takes so much of CPU and how you can resolve ntoskrnl.exe system!
Ntoskrnl.exe: What Does It Signify?
ntoskrnl.exe Windows 10 is also known as (Windows NT operating system Kernel). It plays an important role in serving the system. It manages processes like hardware virtualization, memory management, process management and more.
Now here’s the irony that makes users wonder why. what is ntoskrnl.exe? Well, it is a function that manages memory yet that is the function that ends up taking a majority portion of the CPU.
You might come to think that the most simple solution would be to get rid of the program or to end the process. But that is not the case. If you choose to end the process then it’d be a difficult scenario as Windows will be affected drastically.
This is because the process plays an important role in operating the system. Well, fear not. There are ways. Go through the next section to get the solutions for ntoskrnl.exe high disk usage.
Fix CPU Issue Of Ntoskrnl.exe!
Go through these simple methods to control the CPU usage by Ntoskrnl.exe.
1. Make Changes In Windows Registry
If you didn’t know, then here’s a brief introduction to what a Windows registry is. It is an important space in the system that acts as a database of information regarding system files, hardware devices, configurations, and settings.
It is a key source for everything that the system is built upon. This cannot be found anywhere else in Windows OS except the registry. So you can tune settings in there in the following way:
Go to the “Start” button and then right-click on it. Then go to the option called “Run”. In there, write “Regedit” and then hit the “Enter” button. Once you’re in the Registry, go to the location named:
“HKEY_LOCAL_MACHINE\SYSTEM\CurrentControlSet\Control\Session\Manager\Memory Management”. Then click on the folder of Memory Management. In there, you’ll see a list of registry files.
Then from the list of registry files, go to the named “ClearPageFileAtShutdown”. Then double click on the file. A new box will appear in “DWORD”. Place the value data and set it to 1. Then hit the “OK” button and then exit the registry.
2. Enhance Performance Of Windows
To enhance the performance of Window, do the following steps below:
Go to “Start” and then search for “This PC” or “My Computers”. From there, right-click on it and then go to the option called “Properties”. From the following box of “System Properties”, go to the option called “Advanced System Settings”. Then, go to the tab called “Advanced”. Then, go to the option called “Settings”.
In the next window, go to the option called “Adjust for best performance”. Then to save the newly made changes, click on the option called “Apply”. After that, restart the system.
Check the CPU usage to see if it’s taking the same amount of CPU as it was before you made changes in the registry.
3. Turn On Startup Programs
When a user starts the system, a lot of programs & services are immediately activated. They run in the background during the startup. As a result, CPU space decreases and some software can have conflicts. For that, try turning off the startup programs in the following way:
Go to the “Start” menu and then type “System Configuration” in the search bar. Then enter into the following result. In the following window of System Configuration, go to the tab called “Services”.After that, select the option called “Hide all Microsoft services”. Turn it off using the disable button.
Click on “Startup”. Go to “Open Task Manager”. In the following window, select the applications one by one and then disable them. Then exit the Task Manager, clicking on the “OK” button.
Now simply restart the system and check if your CPU is being used too much or not.
4. Defragment Hard Drive
In order to make the system run as smoothly as possible in the most efficient way, defragmentation takes part in that. If the system is in requirement of defragmentation then you need to consider optimizing it in the following way
Simply go to the “Start” button and then search for the option called “Defragmentation & Optimize Drives”. Go to the result. In the following window, of Optimize Drives”, choose the hard drives and then select the option called “Optimize”.
As soon as you choose, the optimization will start. Once the process is finished, restart the system. Now check the usage of CPU now.
5. Check For Virus
A virus is a potential threat to the system. If the system contains a Virus, then the CPU will most likely be used on an abnormal amount. To ensure the system is virus-free, it is advisable that you do a whole system scan. You can scan the system using the Windows Defender.
Go to the “Start” button and then write the virus in the search bar. You’ll get a list of search suggestions on the list. Among those, click on the option called “Virus & Threat Protection”. Then, in the following window, click on the option called “Advanced Scan”.
After that, choose the option called “Advanced Scan” right under “Quick Scan”. Now, you’ll have three options for scanning. Based on your preference, you can choose whichever you’d like. But it is advisable that you select the option called “Full Scan”. Scan the system using the “Scan Now” option.
Wait until the scan is over. If any virus, malware or malicious file is found, then the antivirus will get rid of it. Now shut down and start the Windows operating system. The CPU usage should now be reduced to a much lesser amount.
6. Turn Off RunTime Broker
To disable the Runtime Broker, do the following steps below:
Go to the “Start” section and search for “Settings” in the search bar. Then click on the result. After that, go to the option called “System”. From there, go to “Notifications & Actions”. On the right side, toggle the button to disable it.
Alongside that, go to the bottom and toggle the button of “Get Tips & Tricks” to turn it off.
7. Turn Off Superfetch
Superfetch is known to speed things up in the system, such as the launching of an application. It uses the fast loading of cache so that applications do not take much time to start. But it can also affect the performance of the system ironically and use the CPU space. So try, turning it off in the following way:
Launch the “Run” button and type “Services.msc”. Then hit the “Ok” button. In the following window of Services”, go through the list of services and then click on the option called “Superfetch”.
Right-click on it and then select the option called “Stop”. Now simply restart the system after the process is done once again check if the problem nt kernel & system high cpu windows 10 has been resolved or not. If it did then there’s your answer!
8. SFC/DISM Scan
Running an SFC scan would ensure that if WRP (Windows Resource Protection) is damaged, then it would repair or resolve it. So to run the SFC scan, do the following steps on system_service_exception ntoskrnl.exe:
Go to the “Start” button and then search for Command Prompt. Then right-click on it to run it as an administrator. Once you’re in Command Prompt, type this at the cursor:
“sfc/scannow”.
Then hit the “Enter” button. Wait until the process is finished. Now open the Task Manager and check if the method got the job done.
9. Use Windows Performance Toolkit
To find what the root cause is, try doing the following steps below:
Go to “Start”, search for Command Prompt and click on the result. In Command Prompt, type the following commands at the cursor:
“Xperf -on latency -stackwalk profile -buffersize 1024 -MaxFile 256 -FileMode Circular && timeout -1 && xperf -d cpuusage.etl
Then hit the enter button. Wait until the command has been executed. Go to the following directory:
“C:Windows\System32”.
In there, check for the file called “cpuusage.elt. This file contains a whole list of the possibilities that could be the cause of the error.
Frequently Asked Questions:
Can I stop Ntoskrnl?
Is ntoskrnl.exe a virus?
According to our knowledge, ntoskrnl.exe is not a virus or malware.