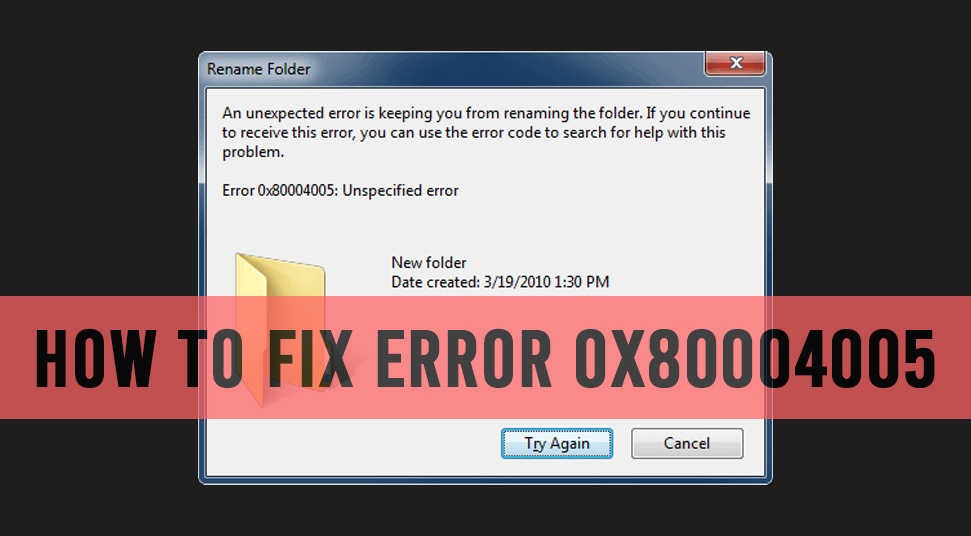
error 0x80004005 is a typical error that Windows users face from time to time, according to the reports. Usually, during this error, users are unable to get access to certain folders such as Shared Folders, Virtual Machines, and Drivers. error code 0x80004005 also happens when the Windows operating system fails to update the system.
The disadvantage of having this problem is that, it does not let you know about how this problem is originated. In that case, finding out the root will solve the problem. Get more information below!
Steps to Fix Error 0x80004005
Here are some easy steps that you can apply to get Windows error 0x80004005 problem fixed at once:
1. Apply the File/Folder Troubleshoot
This troubleshooting option may be useful when you face an error in deleting, copying or editing any folder or its title. Here’s what to do:
At first, you need to open the official website of Microsoft and download the file and folder troubleshooter from there. After the download is complete, click on the saved file to open it.
Then click on the “Advanced” option in the File and folder troubleshooter box. After that, choose the “Apply repairs automatically” option. Click on the “Next” option after that.
Now you will be asked the kind of problem you are facing. Check on the boxes that seem relevant to the problem and then click on the “Next” option.
Now the troubleshooting will start. If you again get the same error then follow the next method.
2. Run System File Checker Scan
There is a good chance that error 0x80004005: unspecified error occurs if the system files are damaged to a good extent.
In that case, you can try running a system file checker scan which automatically looks for any error within the system. And not only that, but it also fixes the problem on its own.
Go to the “Start” button and in the search field, type “Command Prompt”. Or you can also go to “Command Prompt” using the “Windows and the “X” key on the keyboard. When you open it, make sure that you are opening it with administrative rights.
Now in Command Prompt, type “DISM.exe/Online/Cleanup-image/Restorehealth” at the blinking cursor. After you hit the “Enter” button, the “Deployment Image Servicing & Management Tool” will run.
After this, you can run the system file checker by using the ‘sfc/scannow” command. After that, hit the “Return” key.
Keep in mind that this process should take at least up to 20 to 30 minutes in order to finish. Now check if you see the error or not.
3. Take Folder Ownership
This error could likely be caused due to ownership issues. In that case, you need to retrieve the folder’s ownership back in your hands. Do the following:
You can try his using the “Properties” of the folder. Or you can download an external tool called “TakeOwnershipEx” from a verified website.
First, download the tool from a trusted website source and save the ZIP file in a folder. Now, go to this folder, and click on the “ZIP” file. Then, click on the option called “Extract All” so that you can decompress the file.
After the extraction is done, install the application program on the system. Now open the tool and click on the button that says “Take Ownership”. You will be asked to choose a specific folder that upon modifying or deleting, shows the error. Click on the “OK” option after that.
Now, you can click on the specific folder and check if you get the error or not.
4. Do a Boot Clean on Windows
You can opt for this solution which will verify if there is any conflicting software that is causing the error. One such example of conflicting software is an antivirus. Do the following:
Use the “Windows” and the “R” key on the keyboard to open the “Run” box. Now, in the” Run” box, type “misconfig” and hit the ‘Enter” button or click on the “OK” option. Under the tab of “General” choose the “Selective Startup” button.
Then, uncheck the box that says “Load startup items”. Now, choose the “Load system services” option as well as the “Use boot configuration” option together. After that, go to the “Services” tab and click on the option called “Hide All Microsft Services”.
Then, choose the “Disable All” option. After that, click on the option called “Apply”. Then click on the “OK” button. Now you will see a system configuration box asking for restarting. Go ahead and click on the “Restart” button.
After the windows have been booted, try making modifications to the folder and check if you get the same error or not.
5. Use Command Prompt to Change Folder Name
If you attempt to delete or edit a folder and get this error, then you can consider changing the name of the folder using the Command Prompt. Here’s how to do that;
Go to the window’s “Start” menu and from the search field, look up for Command prompt. Open, it with administrative rights. In Command Prompt, locate the specific folder by following the cd: path. Hit enter after giving the address path of the folder.
Then type “dir/x” and hit the “Return” button. Then, change the title to the format of 8.3.
Type “Ren 8.3folde title new folder title” along with the original title. After you’re done, launch the “File Explorer” and then get rid of the entire folder.
6. Use Archive Software to Extract Files
Many Windows users have reported that, upon extracting a file from a folder or copying files from a folder, users have faced this error. This happens due to Windows OS being unable to recognize the encrypted file.
Use any third-party archive utility to extract any compressed file. Get the software online from a trusted website and then you can extract any file using the “Extract” button.
Frequently Asked Questions:
What is this error code 0x80004005?
Error 0x80004005 is an unclear error that occurs when a user is unable to access shared Folders, Drives, Virtual Machines, or make changes to their Microsoft Account, as well as when Windows Updates fail to install.
Why does it say an unexpected error is keeping you from copying the file?
This issue frequently happens when a zip file is password-protected. Windows is unable to recognise that the file is encrypted. To extract the file, you’ll need to use a program like WinZip or WinRAR. To extract the file, you’ll also need the password that was set on it.