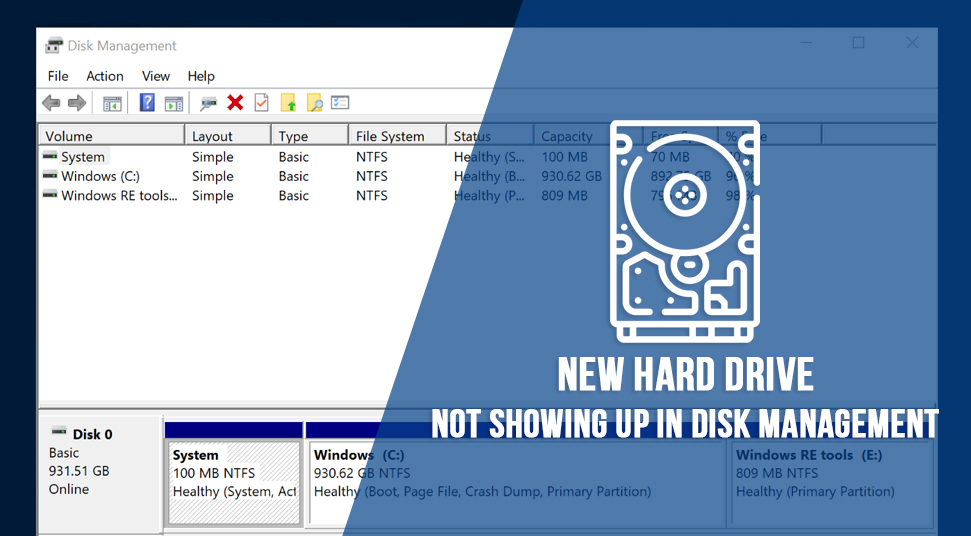
Being a Windows user, you may have come across a problem that is, “hard drive not showing up in disk management”. This problem is relatively common in Windows 10. If you’ve faced this problem, then do not worry, as you can find the alternatives to fix it! Find out more below!
What triggers this Problem?
Windows BIOS is unable to detect the hard drive for various reasons. Here’s a few of them listed below:
It could be a case of a connection issue. This means that for some reason there is no connection between the storage and the computer. It could be that either the power supply, USB cable or the port
Another factor that could affect this issue is that there is no allocation in the hard drive capacity. Hard drives won’t be shown in Internet Explorer if there is no disk partition and everything else is unallocated.
Also, if the hard drive is out of date then there is a big chance that the hard drive won’t show up due to failure in recognition.
Now that you know about the thing that can trigger the problem, go through the next content to find out the solution for the internal hard drive not showing up in disk management!
Easy Fixes for Hard Drive not Showing Up Error
Here are a few easy fixes that you can implement if the hard drive not showing up in disk management windows 10:
Solution 1: Check Cable Connection For Hard Drive
Using two cables namely the data cable and the power cable, the hard drive is connected to the motherboard. If these cables are not working or damaged then the connection won’t establish.
Check if the cables are working well. If not, then you can replace the cables with a new one. If the cables are working fine and the connection is still no establishing then it could that the SATA port is faulty. If that’s the case, then all you need to do is put the data cable into a different port of the motherboard.
If you have an external hard drive that uses a USB cable for connection, then simply use a different USB port for connecting. Follow the next method if the new hard drive not showing up in disk management.
Solution 2: Remove ATA Channel Drivers
According to user reports, apparently, the problem is solved by clearing all the ATA channels via the menu of the controller (ATA/ATP). Here’s how to do it:
First, launch the ‘Run” box using the “Windows” and the “R” key and then type in “devmgmt.msc” in the blank field. Then hit the “Enter” button. When Device Manager opens, select the option called “IDE ATA/ATAPI Controller” and then expand it.
Then select the first ATA Channel and simply right-click on it to choose the “Uninstall device” option. Similarly, do the same with all the ATA channels remaining.
Now all you need to do is restart the system so that in the next startup, the system will look for the drivers and install them again. After the system boots up, check if you see the same problem again or not by launching Device management.
Solution 3: Remove Storage Space Used By HDD
If you’ve used a common space to use the storage space for HDD then you may likely to face the problem. In that case, it is advisable that you get rid of the common storage space. Here’s how to delete the common storage space:
Open the “Run” box using the “R” and the “Windows” key. Then, in the field, write “ Control” and then hit the “Enter” button. When Control Panel opens, choose the option called “System & Security” and then click on the option called “Storage Spaces”.
After that, you need to expand the option called “Storage Pool”. Then click on the option called “Delete”. When you receive a prompt for confirmation, allow it and restart the system. Then check if you see the same problem or not.
Solution 4: Install SATA (RAID) Externally
To install the SATA driver manually, you need to get it from the manufacturer’s official website.
First, go to the website of the manufacturer and then search for the SATA driver that goes with the model of your system and then download it. Open the downloaded file and then go through the installation wizard to finish the installation.
After you’ve completed the installation, restart the operating system and check if you can view the hard drive in the disk management memory. Go to the next solution if the new hard drive not showing up.
Solution 5: Import Foreign Disk
Oftentimes, it is likely that the hard drive cannot be seen in “Disk Management” or “My Computer”. This is because the system recognizes the disk as a foreign disk. To import, here’s what you have to do:
Bring up the “Run” box using the “Windows and the “R” key on the keyboard and simply type “diskmgmt.msc” in the blank field. Hit enter after that. One the “Disk Management” box comes up, locate to see if there is any presence of disks under the OS Disk.
Keep in mind that if there is a disk with the icon resembling an exclamation mark, then right-click on it. Then click on the option called “Import Foreign Disks” among all the other options.
After doing this, you will see that the hard drive will appear in the “Disk Management” as a volume.