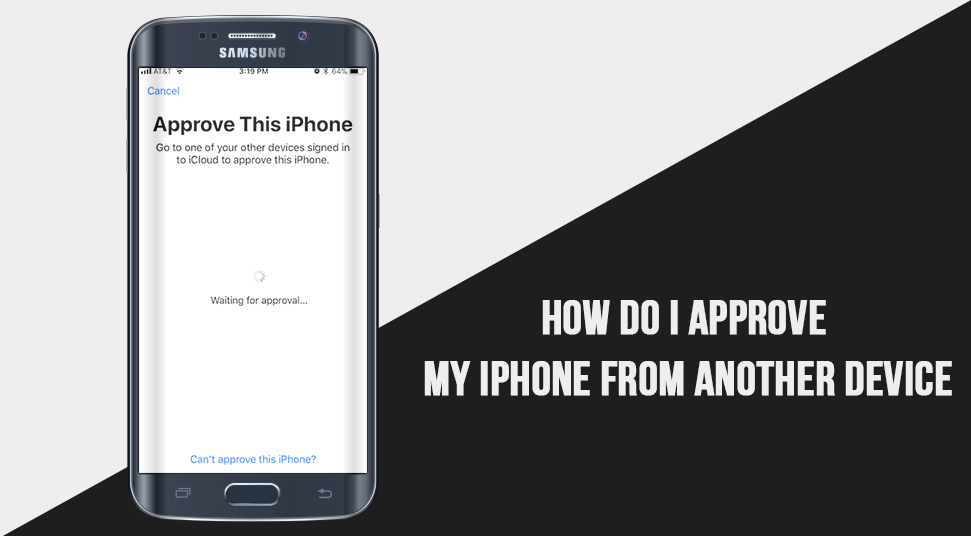
As an iPhone user, you may have come across a problem that tells you to approve the iPhone by using a different device that is logged into the cloud account. While this is a relevant authentication process, it could be a bit troublesome to go through such a lengthy process especially when there is no option after the “Waiting for approval” message.
However, you can still do it in easy ways. To get more information, follow the contents below!
Steps to Approve iPhone from Another Device
In this section, you will find some easy steps on how to approve iPhone from another device.
1. Approve Mac OS From iCloud
If you’ve thought about how to approve iPhone from iCloud or how to approve iPhone from mac then here’s how to do that:
The first thing you need to do it, go to the “Apple’ icon on the Mac desktop and then click it. Among all the options, select the option called “System Preferences”.
When the ‘System Preferences” box opens, select the option called “iCloud”. You will be asked to insert the iCloud account ID as well as the password. Go ahead and type in the credentials.
After you’re done logging in, you will be given a set of 6 key figures for the verification process.
Open the iPhone device that is connected to iCloud. Then you will be notified that another device is connected to the cloud. With this, the device will ask you to allow the connection or not.
Click on the “Allow” option to get the 6 key figure that is generated. Enter the 6 key figures which is the Apple ID verification code to get through the approval.
Once you’ve done it, the authentication approval is done and now you won’t have to do it again to get into your phone.
2. Approve iPhone from Different Device Using iCloud
how to approve iPhone from another device is different from the previous step as here you will be using two iPhone devices to make the iCloud approve iPhone. Here’s how:
From your iPhone device, go to its “Settings” and click on the option called “iCloud”. Now, in the “iCloud” option, enter the ID as well as the password. After this, you will receive the verification code of Apple ID from a different iPhone device which is 6 digits.
Now after you’ve placed the 6 digits upon asking, iPhone will ask you to type in the Apple passcode. After you’ve put the passcode, the approving process is finished successfully.
3. Disable Two-Factor Authentication
This step is useful to only certain users However, do the following to disable the two-factor authentication:
When you see the “Waiting For Approval” sign, click on the “Cancel” button.
Then open the iPhone device and visit the “Settings” option. Then, click on the “Apple ID” which is your username. After that, select the option called “Password & Security”. In that, choose the “Two-factor authentication”. Now, disable the function.
Upon doing so, iPhone will ask you to reset the Apple ID as well as the password. Keep in mind that there is no need to worry as none of your data will be removed. Now, you may receive a notification through email that the two-factor authentication has been changed.
After you’ve disabled the two-factor authentication, go back and retry the approval through the “Settings” option.
4. Disable iCloud Keychain
Similar to the previous step, press the “Cancel” button during the “Waiting for Approval” period.
Then again, go to ‘Settings” and select your username, which is the Apple ID. Then select the “iCloud” option. In there, select the “iCloud keychain’ and simply disable it.
After that, try restarting the iPhone device.