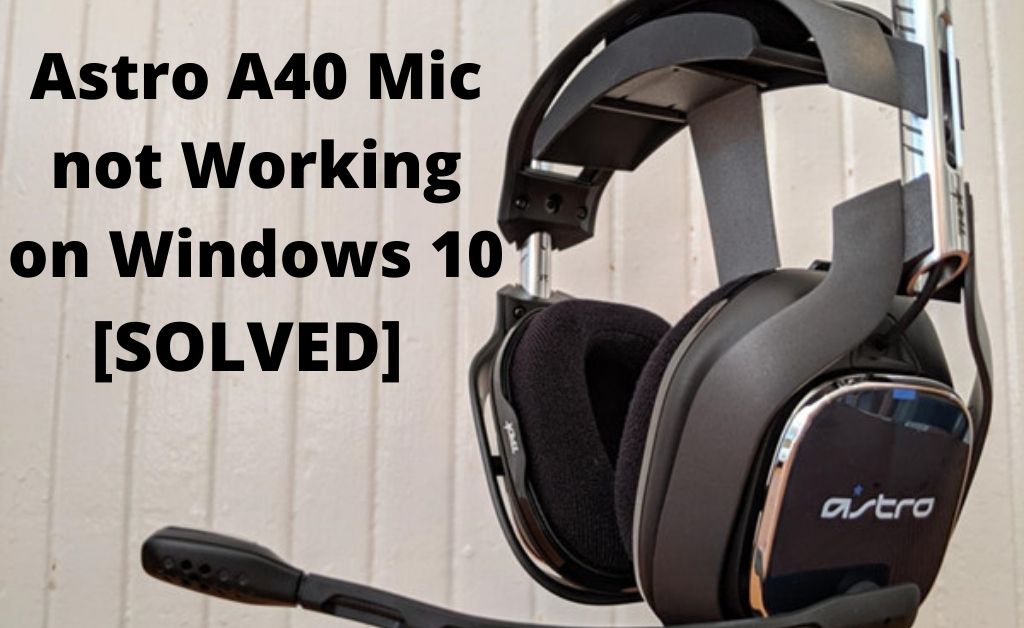
Astro A40 is one of the most popular headsets. Most people use it while broadcasting any content on YouTube and Twitch. In addition to that, the device is much more flexible while playing online games and talking to your friends. What if the Astro A40 mic not working? Your friends won’t hear anything that you say, leading to a communication barrier.
Outdated sound drivers, torn or other issues in the headset cable, loose connections in the 3.5 mm headphones/headset female jack might be the possible reasons. So, to bring back the headset to its original working condition, you must fix the issue as soon as possible.
Best Possible Solutions to Fix Astro A40 Mic not Working
Before moving on to the solutions, ensure that you have installed all the necessary drivers. In addition to that, check whether your system OS is updated to the latest version. Now, let’s begin.
Solution 1: Check for Hardware Loose Connections
The 3.5 mm port on your computer might get loose due to some obvious reasons. You have to provide a little pressure while inserting the Astro A40 jack. So, detach the headset jack and re-insert it into the slot tightly. Is the Astro A40 mic not working? Then, try to check for any kind of dust and debris inside the slot and clean it with a piece of cloth.
Solution 2: Adjust the Volume Setting
If the system volume is mute, the Astro A40 mic will fail to work. So, you have to click on the volume icon present in the taskbar. Drag the volume level to the right-hand side to reach the maximum limit. Now, speak and ask your friends whether they can hear through the mic. Hopefully, this will work.
Solution 3: Re-Adjust the System Audio Settings
Right-click on the sound icon present on the Taskbar. The Sound window will open. Now, check which one is the default device. Most probably, it will be the Realtek high definition audio device. Once again, right-click on it and go to the Levels tab. Exceed the microphone level to maximum. There is no need to expand the Microphone Boost level as it can damage your ears. Surely, the Astro A40 mic not working will be resolved.
Solution 4: Get the Latest Version of the Audio Driver
The existing version of the audio driver might be outdated. Thus, the Astro A40 mic not working. So, you have to get the new version. Navigate to the Device Manager and find out the sound adapter. Most probably, it will be Realtek High Definition Audio. Right-click on it to choose the Update Driver option. Within a few minutes, the download and installation will be complete. Reboot your laptop/desktop to save the changes.
Solution 5: Make Changes in the Astro Application
The headset has a dedicated application. Since you are using the headset, you must have the app on your PC. When the Astro A40 mic not working, open the official headset application. Select the Microphones tab and adjust the mic level. Balance it with the help of the toggle bar. Save the changes and close Astro.
Solution 6: Clear the Residual Files
An excessive amount of cache and junk files resist many operations on your PC. The Astro A40 mic not working is no exception. Open the Run and type “%temp%”. The list of all the cache and residual files will open. Select them all and press Shift and Del. If the problem persists, there must be more cache files. It is better to take the help of a third-party application. It will help you in deep cleaning. When done, detach the headset, restart your system and reconnect it.
Solution 7: Remove any Existing Malware
Malware in your system can make any device’s function stop responding. Maybe that’s why the Astro A40 mic not working. In addition to that, malware can also corrupt your system software. If this happens, permanent data loss can take place. Get a good anti-malware application to counter the existing malware on your system.
Faulty Device? What should you do now?
If the mic is damaged, you cannot do much related to hardware. In such a scenario, take the headset to the authorised service centre. After necessary repairs, hopefully, the mic of Astro A40 mic will work. But, check for physical damage because it will void the international warranty.
