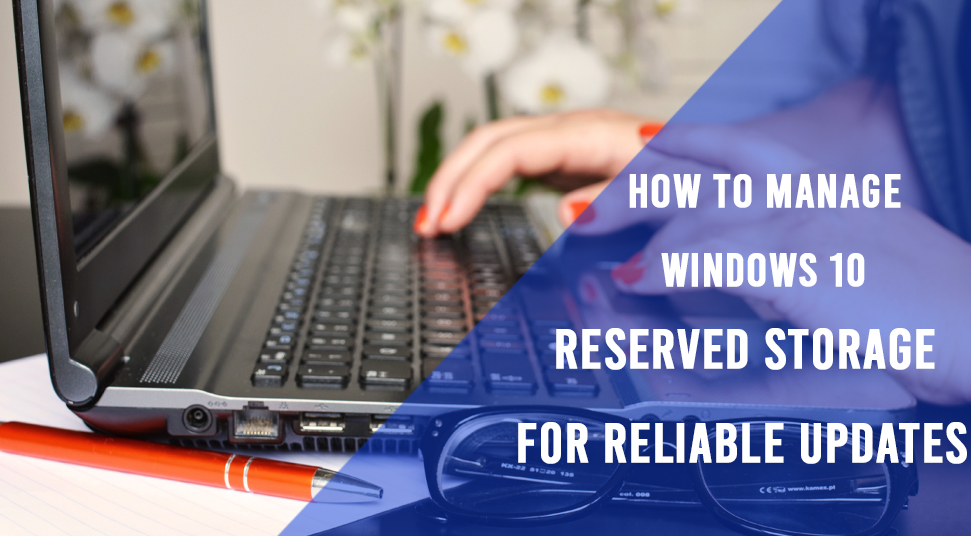
The Windows 10 1903 update was introduced in May 2019. It came with a host of new tweaks and fixes. For example, the Windows Sandbox, the performance improvements, the new light theme, and many others. However, it offended many of its users due to the addition of the reserved storage.
Windows 10 1903 introduced reserved storage and occupies a portion of 7GB of it. Apart from that, Windows 10 1903 keeps it locked down to ensure that the updates get installed quickly without any fault.
Now before diving further into its management procedure, let’s take a definite look into what the Windows 10 reserved storage actually means.
Windows 10 Reserved Storage: A Concise Analysis
There are many systems, as recognized by Microsoft, which eventually fails to update due to their smaller storage. Often it happens that a device gets filled up by various apps, music, photos. This ultimately hinders the downloading and installing process of an update by the operating system due to the inavailability of space.
Though there are some users who find updating it a bit irritating, this is quite useful. This is because it ensures various securities which are very important. Moreover, if the storage capacity exceeds the limit, some regular apps may often face difficulties.
The main motto of it is to improve the regular functioning of your PC. If a user exceeds his or her storage without using the reserved storage, then many windows and application scenarios fail to become reliable. Due to less space for functioning, these apps might not work as they are expected to.
With the use of reserved storage, apps, updates, and other temporary files, the applications should take less space and continue to work as it worked earlier. However, the very first reserved storage is likely to use 7GB storage.
Factors Responsible for Reserved Storage Changes
The size of the reserved storage as said by Microsoft is 7GB. Now, this part of the space is irremovable from OS as soon as it is activated, however, the size remains the same. Thus, the two main factors which can lead to its change are the optional features and installed languages.
1. Optional Features
With the introduction of the optional feature in the system, the amount of reserved storage gets increased. It ensures that the feature works well on your device.
If you want to see the reserved storage space on your computer, follow the steps below:
- First of all, enter the storage settings on the Search box and hit Enter.
- After that, open system & reserved section from the Show more categories.
- Lastly, go to Reserved storage.
2. Installed Languages
Additional language helps in enlarging the size of the reserved storage and maintaining the installed languages eventually. Following that, you can also uninstall languages that you think are unnecessary to reduce the reserved space of your device.
Identify Whether Your PC is Using Reserved Storage or Not
First, you have to check whether your PC is already utilizing any reserved storage or not and accordingly, you can enable or disable it.
At first, go to Settings<System<Storage. Then select the option show more categories>systems and reserved. Now you will get to know whether your PC is using reserved storage or not. If your PC is already using reserved storage, then you perceive a particular section. If you do not find it, that means your PC is not using any reserved storage.
Before that, you must know that reserved storage will automatically get enabled on your Windows 10 version 1903 but it would not update if you are updating it from a previous version. Therefore, if your PC is already using the reserved storage, here is how you can disable it.
Method 1: Disable Windows 10 Reserved Storage
Registry Editor is the one which will help you in disabling the Windows 10 reserved storage. As you disable the reserved storage, it doesn’t appear again automatically. The reserved storage further goes away as soon as the new update arrives.
Let’s see how you can disable Windows 10 reserved storage in some easy steps:
- Firstly, go to start.
- After that, type Regedit in the Start menu search bar and right-click on the top result.
- Now, select Run as administrator.
- Following that, browse: HKEY_LOCAL_MACHINE\SOFTWARE\Microsoft\Windows\CurrentVersion\ReserveManager
- After doing so, double click on the ShippedWithReserves key and change the value to 0.
- Lastly, click on OK.
Also, make sure to reboot your system. You will notice that the reserved storage has disappeared. Although it won’t disappear instantly, gradually it will.
Method 2: Enable Windows 10 Reserved Storage
Now, you might like to turn on the Windows 10 reserved storage. Therefore, move back to the same registry key DWORD as the previous one. After doing that, the value should be set to 1. Now, hit on the OK button.
Wrapping Up
So to conclude, if you are considering to disable the Windows 10 reserved storage, it is better not to do so. This is because reserved storage helps you to update in a successful and safe manner, which is often challenging for many systems. Along with it, it provides other advantages as well. Thus, let us know in the comments whether these solutions were helpful for you or not.