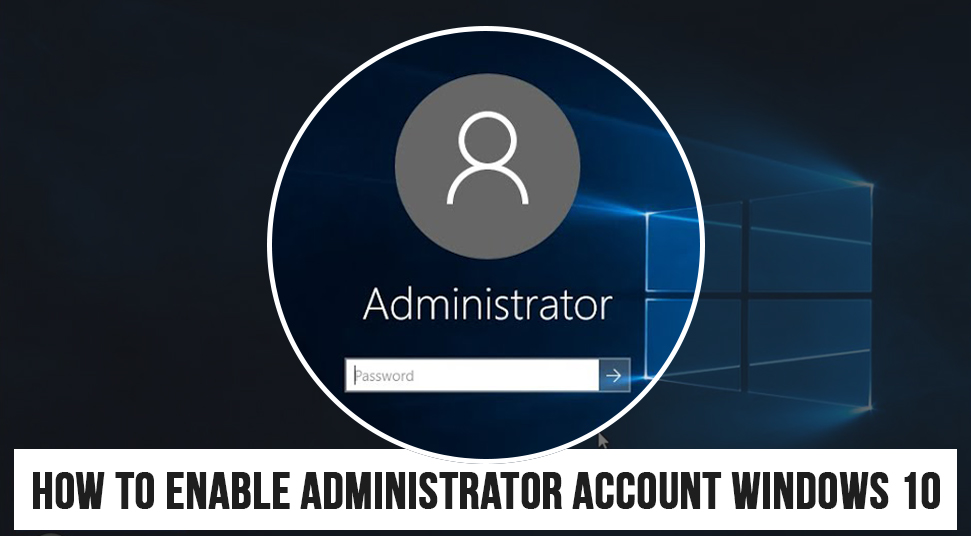
As a Windows user, you must be knowing that when you finish any installation of Windows setup, to make a user account. Even if Window gives you the opportunity to make a Windows 10 Administrator account, but then it gets hidden. The most probable cause would be security reasons.
To get more information on enable administrator account windows 10, read the contents of this article!
What is the use of Administrator Account?
The administrator user account is an account that serves a useful purpose whenever there is any trouble with the main user account. So basically, it is there to troubleshoot the other accounts you create on the PC.
Another aspect of the windows 10 administrator account is that it has access to everything with admin rights, such as local files, tools, and settings, etc. So, the benefit of having an enable admin account windows 10 is that you can pretty much get access to anything without having to face any restrictions from the operating system.
Whatever program you execute from windows 10 login as administrator you’d be able to open them anyway. So in case you’re wondering if you can make one for yourself, then yes, that is much likely possible. Read more to find out on windows 10 enable administrator account!
Methods on Creating Administrative Account!
So, “how to run as administrator windows 10?” There are few methods on how to login as administrator windows 10 that you can implement on how to login as administrator in windows 10 in minutes. Here are a few of them listed below!
Before you begin to create windows 10 administrator account, make sure that you keep it password protected. Since it gives this opportunity to open various files of the system without any restriction, it is crucially important. Given in the wrong hands, could land a great impact on the overall system.
Method 1: Enable Admin Account (Built-In)
- First, go to the “Start” menu and type “Command Prompt” on the search bar. Then, right-click on the result and choose to open it with administrative rights.
- Or, you can simply use the “Shift”, “Ctrl” and “Enter” key as soon as you type “cmd” in the search box. Click on the “Yes” button as soon as you receive the UAC prompt box.
- When the box opens, you’ll see that Command Prompt will launch with the administrator written on the top of the box. Now, write the following line at the cursor: “Net user administrator/active: yes” and hit the “Enter” key.
- Now simply exit the Command Prompt box. Now you can access the built-in admin account from the “Start” menu. Also, this admin account will appear on the start-up screen before you choose an account to log in.
- In case you want to turn off the built-in administrative account, all you need to do is follow the same procedure and write the following line in Command Prompt: “Net user administrator/ active: no”
- Now, the built-in admin account will be turned off.
Method 2: Turn on Hidden Admin Account
For this method, follow these steps below:
- First, launch the “Run” box by using the “Windows” and the “R” key. Now, type “lusrmgr.msc” in the blank field of the “Run” box. Hit the “Ok” button.
- You will be redirected to a directory called “Local Users & Groups”. Now in the box, go to the left side of it and click on the option called “Users”. You will be given the names of all the user accounts of the system.
- Now, among those, choose “Administrator” and double click on it. Then, launch the properties of it.
- In the administrator property box, go to the “General” section. Now if you see an option called “Account is disabled” uncheck it. Then hit the “Apply” button so that you can finally use the built-in account.
- Then exit the Local User & Groups box. Now when you restart the operating system, you will see that the administrator account is activated. You can also be able to get into the admin account from the bottom panel of the “Start” button.
Method 3: Enable Via Local Security Policy
There is another alternative to activate the administrative account. And that is, using the Local Policy Security. Do the following to apply:
- “Bring up the “Run” box using the “Windows” and the “R” key. You can also get the “Run” box using the “Start” menu. Simply write “Run” in the search box and click on the result.
- Now, from the “Run” box, type “secpol.msc” in the blank box. Then click on the “OK” button to proceed.
- You will be redirected to a place called “Local Security Policy”. From here, click on the option called “Local Policies”. …
- From here, under the “Policy” tab, click on the entry that says “Accounts: Administrator account status. Now, launch its properties by double-clicking on it.
- Once you’re in the properties box, go to the “Local Security Settings”. Here, choose the “Enabled” option. Now, hit the “Apply” button and simply exit the box.
- After this, your admin account will be activated and you can use from either the” Start” menu or the startup screen during log-in session.
Method 4: Enable Admin account Via Registry
This is the last alternative that you can try to create an admin account on windows 10.
- You’d have to first open the “Run” dialog box with the help of “Windows” and the “R” key. Then write “regedit” in the blank field and then click on the “OK” button.
- When the registry box opens, click on the file called “HKEY_LOCAL_MACHINE”. From here, go to the “Software” section and then visit the option called “Microsoft”.
- Now, go to “Windows NT” and then “CurrentVersion”. In the “Winlogon” section, you’ll find a file called “Special Accounts”. From here, go to “UserList”.
- Now under “UserList”, select the option called “New” and then go to the option that says “DWORD Value”.
- When you open the “DWORD Value”, you’d be asked to give value to it. Write “administrator” and then hit the “Enter” option. After you’re done making the changes, exit the Registry.
You’ll see that you’ve successfully made an admin account. And if you’d like to reverse the process and delete the admin account, then remove “Administrator” from the “DWORD Value” n registry and then you’re good to go!