A free service, given by Microsoft, is Windows Update. This service includes downloading and updating the system to its latest version with new configuration and settings to improve the quality of performance. The update also contains patches, service packs, driver updates and much more.
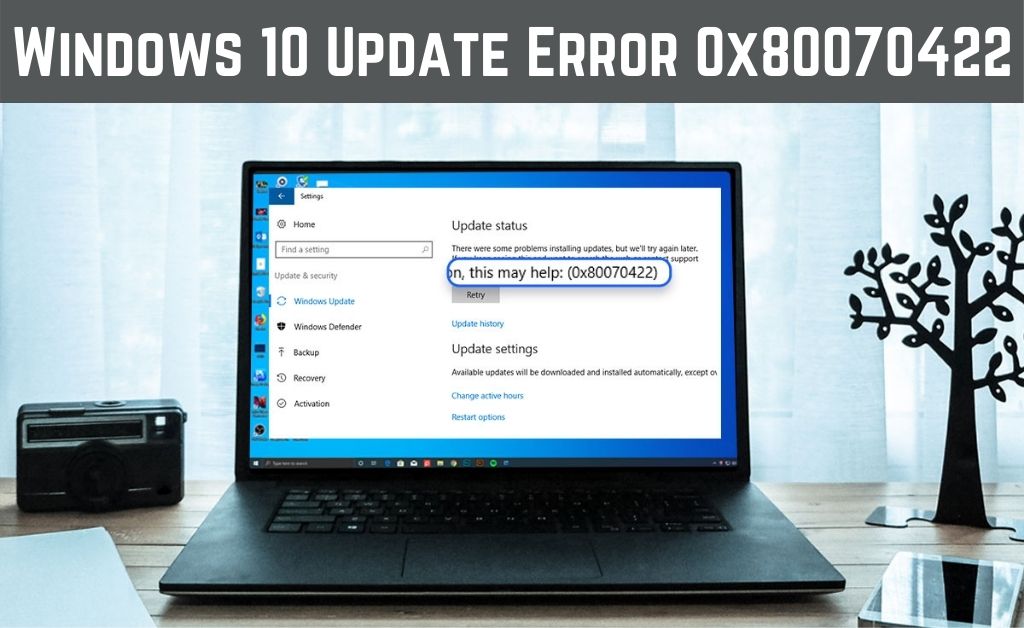
But however, users have reported that they’ve been facing issues while updating the system. Windows Update Error (0x80070422) is one such error that shows up when some users try to update the system.
The error code signifies that Windows was unable to update the system. And, not only does it appear during an attempt of updating, but also when a user is checking for updates or trying to install any application. If you’re one of those users, then you can easily resolve the issue following the contents below!
Easy Fixes For Windows Update Error 0x80070422! [Windows 10]
Go through the list of fixes below so that you don’t get the same error 0x80070422 in the near future!
1. Check If Windows Service Is Enabled And Running
Here’s what you can do to check if Windows Update is running or not:
The first thing you need to do is go to the “Start section and then search for, “Control Panel”. Right-click on the result and then select the option called “Run As Administrator”. In there, select the option for “Services”.
Then, in Services, locate the option called “Windows Update”. Right-click on it to select the option called “Properties”. In its properties box, go to the startup type and make sure it is set to “Automatic”.
Additionally, also check the status of the windows update service. Make sure it is running. Simply exit its properties, and then go back to the Windows Update service. Right-click on it and then select the option called “Start”.
Once you’ve tuned the services smoothly, you can exit the box and then restart the system. Now try updating the system and check if you get the error again or not. If you do, go through the next one.
2. Turn Off IPv6
According to user reports, turning off the IPv6 has been helpful in resolving the windows update error.
From Control Panel
Select the “Start” button and then search for “Control Panel”. Click on the result. Then go to the option called “Network & Sharing Center”. Then from the list of connections, find your connection and then right-click on it and select the option called “Properties”.
Therefore, go to the option called “TCP/IPv6”. Make sure you’ve unchecked the box. Then click on the OK button and then exit the box. Also, the exit Control Panel. Then restart the system. You should see that the error is resolved by now.
From Registry Editor
Launch the Run box using the “Window”s and the “R” key. Then write “regedit” in the blank field and then hit the enter button. Then select the option called “Registry Editor” from the following list.
Once you’re in Registry, go to the entry called “HKEY_LOCAL_MACHINE\SYSTEM\CurrentControlSet\Services\TCPIP6\Parameters”.
Then right-click on the option called “Parameters” located on the left side of the Registry. Then click on the option called “New”. After that, set the DWORD Value to 32 bit.
Enter the name in the name field as “DisabledComponents”. Then right-click on its value and then select the option called “Modify”. Inthe the following box of modification, enter the data of the value as “ffffffff”. Set the base value to hexadecimal and then exit the box using the “OK” button.
3. EnabledFeaturedSoftware Data
Open the Run box and then write “Regedit”.Once you’re in Registry, go to navigate to the entry called “HKEY_LOCAL_MACHINE\SOFTWARE\Microsoft\Windows\CurrentVersion\WindowsUpdate\Auto-Update”.
Now in there, check if the function called “EnabledFeaturedSoftware” is enabled or not. Make sure it is enabled and its value has been set to 1.
4. Restart Network Service
Often, if there is an issue with network service configuration then the windows update error might show up. Additionally, users have reported that resetting it has resolved the issue. Here’s how to do:
Go to the “Start” button and then search for “Run”. In the following run box, write “services.msc” and then hit the enter button. In the following box of “Services”, go to the option called “Network List Services”. Right-click on it and then select the option called “Restart”.
Now exit the Registry and then restart the system. Now try to update the system. Check if you are getting the same error or not.
5. Troubleshoot Windows
Windows Troubleshooter is an in-built function that has the ability to diagnose system issues and then fix them automatically. Here’s how you can troubleshoot windows:
First, go to “Start”. Then search for “Settings”. Click on the result. From “Settings”, go to the top section where the search bar is. In there, type ‘Troubleshoot” and then hit the enter button.
You’ll get many options by searching but among those, select the only option called “Troubleshoot”. Then go to the section called “Get up & Running”. From there, select the option called “Windows Update”. Click on it and then select the option called “Run The Troubleshooter”.
Once the system is done troubleshooting, it will check for issues within the system. If any found, it will resolve it on its own. Then restart the system and try updating the Windows operating system. If the solution worked for you, then you will not get the 0x80070422 error code again.
Conclusion
Now that you have an idea of why the error happens and how to resolve 0x80070422 error, get started immediately!