Among the vast world of technology, facing technical error is a common phenomenon. One of many errors is the kmode exception not handled error. The error is not as troublesome if you understand what it is and how it occurs. So if you’ve faced it recently, then you’ve landed on the right page. For more information regarding the kmode exception not handled windows 10 error, go through the rest of the contents written below!
Kmode Exception: What is it? How does the Error Happen?
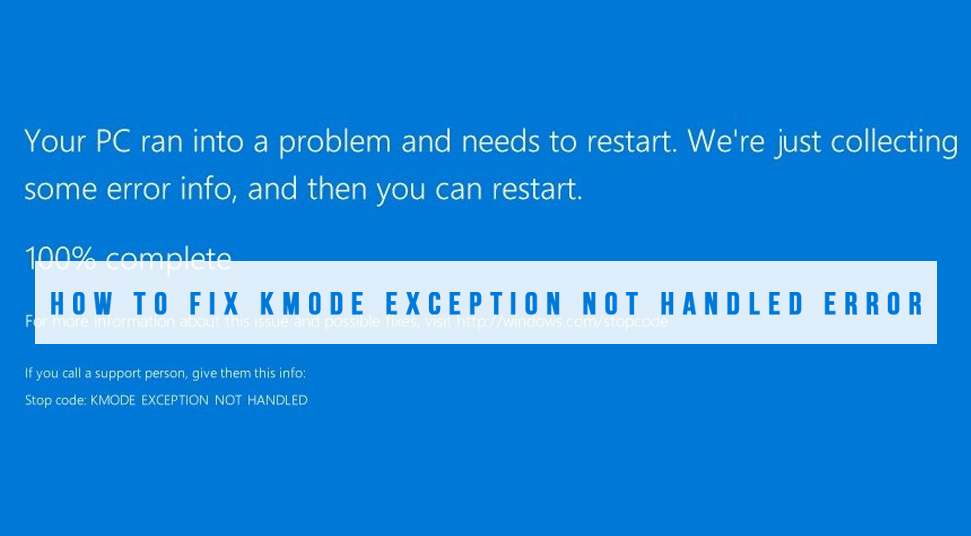
windows 10 kmode exception not handled error is more than just words. The kmode_exception_not_handled windows 10 error appears when two applications or more overwrite the memory of each other. As a result, it causes an error and then software crashes. With that being said, if you see a blue screen followed by the error, then the whole system crashes.
In more depth, what happens is that, when a windows error handler occurs, it fails to recognize the fault when software crashes. It only has an idea that something has gone wrong without any information of what it is. The most probable suspect is the driver.
Ways to Fix the Kmode Exception Startup Error
In this section, you’ll come across steps that you can use to fix the stop code kmode exception not handled error:
Solution 1: Turn Off Fast Startup
The Fast Startup for Windows may be a culprit for this error. Or it could be a possibility that gives rise to this error. In that case, disabling the fast Startup would be the best bet. To do that, here’s what you need to do:
- At first, go to the “Start” section and then go to the search bar. From there, open the “Control Panel” box by typing in “Control Panel”. When the following box appears, go to the section called” System & Security”. Now, click on the option called “Power Options”.
- Then on the left panel, select the option called ‘Choose what the power buttons do”.
- Now click on the blue link which says “Change settings that are currently available”.
- Then go to the tab called “Shutdown settings”. After that uncheck the option called Turn On fast Startup”. Once that is done, click on the option called “Save Settings” and exit the box.
Solution 2: Upgrade The Driver
As previously mentioned, the mode exception not handled error may be triggered if there is an issue with the driver. In that case, what you can do is, update the driver. But before that, you need to have any idea of which driver is causing the trouble.
- If you see a blue screen then, what you will see is this: “Error: Kmode_Exception_Not_Handled”
- And after that, you’ll see a name within the brackets. That name is the name of the driver which is triggering the issue. You need to find the location of this driver on the system. To do so, here are the steps:
- Go to the “Start” section and then go to the search bar and type “Device Manager”. Click on the result after that. Now click on the driver which was mentioned within the bracket beside the error statement. Then, right-click on it and select the option called “Update Driver”. Then choose the option called “Search Automatically For Updates” and then wait until the process is finished.
Alternative To Find The Driver
There is another additional way you can search for the correct driver and that is by visiting the manufacturer’s website. There, based on the OS model, you will get the correct driver. Install the latest driver and then check if you get the same error or not.
Solution 3: Run SFC Scan
If you did not know, then Windows can fix itself using a function called “System File Checker Scan”. The SFC scan makes scan through system files within the system and if any issue is found, then Windows resolves it itself. To do so, follow these steps:
- Go to the “start” menu and then type “cmd” or Command Prompt” on the search bar. You can also launch Command Prompt using the “Windows” and the “R” key on the keyboard.
- When you’re in Command Prompt, type the following command at the cursor: “sfc/scannow” and then hit the “Enter” key. Now the scan will begin. Wait until it has been finished. Once that is done, restart the system and check if you get the same error or not.
Solution 4: Memory Diagnostics
Similar to the previous function, you can opt for this solution as well. What is does is test the memory of the system. If there is an issue, the memory diagnostic tool can help.
- First, click on the “Start” menu button and then type “Windows Memory Diagnostics Tool” in the search bar. Click on the result then.
- When you’re in the “Memory Diagnostic” window, click on the option called “Restart now and check for problems”. It will now check for issues that are broken or corrupted. Once the issue has been found and resolved, restart the system and check if you get the error or not.