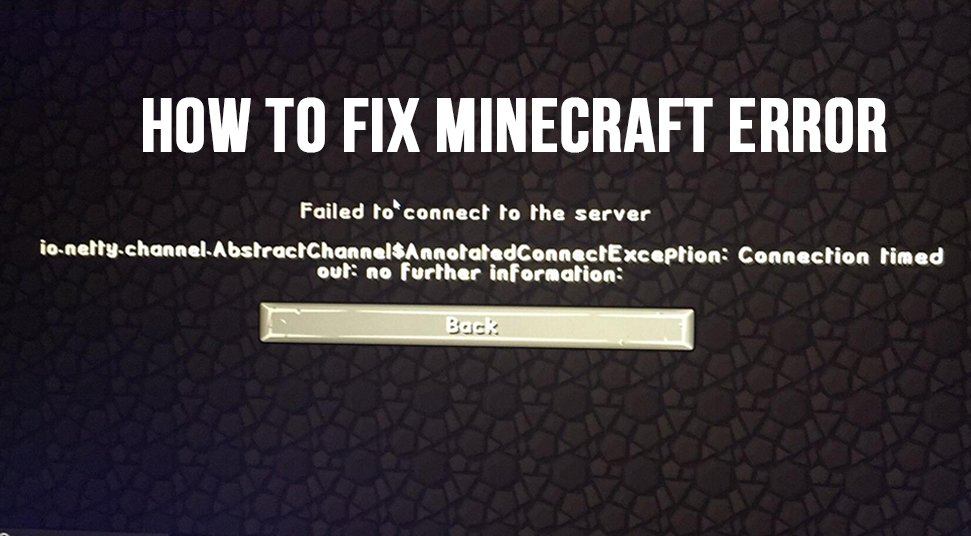
One of the most frustrating things you can experience is an error when you’re about to play a Minecraft game (especially common occurrence with poor quality Minecraft hosts). Suddenly, the screen comes up with an error code that looks like this “io.netty.channel.abstractchannel$annotatedconnectexception” Or “io.netty.channel.abstractchannel$annotatedconnectexception connection refused”.
If you are one of the people who have experienced this then you’ve come to the right place. To begin solving, go through the details of io.netty.channel.abstractchannel$annotatedconnectexception Minecraft fix error in the next section!
Connection Refused Error: What does it Signify?
This error io.netty.channel.AbstractChannel$annotatedconnectexception comes up when a user is attempting to connect to the Minecraft server but is unable to. Based on the current reports, almost 90% of the global population are fans of the Minecraft game and among that 90 %, about 20% of the population seem to face this issue. There could be a lot of reasons why this error could come up. Find out in the next section below.
Connection Refused Error. What triggers the Error?
Here are some possible reasons that could trigger the io.netty.channel.abstractchannel$annotatedconnectexception connection timed out error:
Invalid IP Address
If the IP address is invalid then it is needless to say that the connection will not establish in the first place. If the IP address is invalid then the server will not approve it.
Incompatible Software
If you have some unstable software installed on the system then it will come in conflict with the Minecraft game. It could be that the software that you downloaded is incompatible or under development mode for which it could be unstable.
Firewall & VPN (Virtual Private Network)
If you have either of these two installed on the system then there is a great possibility that these two programs are blocking the Minecraft server.
Java Software Out Of Date
Minecraft works efficiently on the latest version of Java software. Without the Java software, Minecraft is non-existent. Hence, if the Java program associated with the Minecraft game is not up to date then you will most likely face this issue.
Ways to Resolve the Connection Refused Minecraft Error
In this section, you’ll find some relevant information on how to resolve the connection refused error. Go through them one by one below:
1. In Firewall, Add “Exception” In Minecraft Folder
As mentioned previously, the functions of firewalls and VPN blocks the Minecraft server at times. To resolve that, do the following steps:
- First, go to the “Start” section and then from there, go to “Settings”. Then, choose the option called “Updates & Security”. After that, go to the section called “Windows Security”. From there, choose the option called “Firewall & Network Protection”.
- Now, the next thing to do is scroll down to opt for the option called “Allow an App through Firewall”. Then, select “Change Settings” and make it “Yes”. Again, select the option called “Allow Another App” and then opt for the option called “Browse”.
- After that, go to the location where the installation directory of the Minecraft game is and then click on the folder called Maxwell”. Then, click on the file called “Minecraft server”.
- Then make sure you repeat the folders and allow Java to be able to execute itself. Then, go back to the previous step where you chose “Allow another app”. From there, select “Java Platform SE Binary” and make sure they are running in Private as well as Public networks.
- No exit all the boxes and g to Minecraft. Launch the game and check if you see the error again or not.
2. Check IP Address /Port
If the IP address that you are using to connect with the Minecraft server is not static then here’s what you need to do:
- Go to the “Start” and then type “Command Prompt’; in the search section. Click on the result but make sure you launch it with administrative rights using the right-click.
- Then at the cursor in Command Prompt, write the following command: Ipconfig “your IPv4 address”
- Then go back to your system files and look for the folder called “Minecraft Servers”. Then go to the folder called ”MAxwell”. From there, select the option called “Minecraft Servers”.
- Open its properties. Remember the Server Port number or you can note it down somewhere. Then open the Minecraft game and go to the option called “PlayMultiplayer”. Then choose the server that you want to connect to and then click on the option called “Edit”.
- In the editing mode, write down the IPv4 address and then hit the “OK” option. Then click on the option called “refresh” and then check if you experience the error or not.
3. Reset Network Connection/Router
You may not consider this to be a problem but oftentimes, connections do become unstable or poor in strength. As a result, Minecraft experiences this io.netty.channel.AbstractChannel$annotatedconnectexception error. The best thing that you can do to resolve network connection errors is simply resetting the router.
Turn the Router’s power off and wait for a while. Then power it back on. Wait till you get the full connection bar and then open Minecraft at check if you face the error or not.
4. Region Change In VPN
Like mentioned below, VPN does block the servers of games, Minecraft happens to be unfortunate one of them. To resolve this, try using a different VPN that will not bock the Minecraft servers.
Surf the web and you should be able to find these VPNs according to your specifications. But beware of viruses. Hence, download it from a trusted website.
Or you can simply change the region in the current VPN. try changing regions alternately and checking if the game shows the error or not.
5. Reinstall The Minecraft Game
Here’s one last option that you can try as most likely there is a great chance that this will solve it. Once you reinstall the game, it will start from its default configuration. So, if there have been any alterations made mistakenly, it will set back to it original functions. To do so, here’s how to uninstall it:
- At first, go to the “Start” menu then type “Control Panel” in the search bar. From there, navigate to the option called “Programs & Features”. Now, select the option called “Uninstall a Program”. Then from the list of all the programs installed, locate and right-click on “Minecraft”.
- Then select the “uninstall” option to uninstall the game. Once the game has been uninstalled successfully, go to the official website of Minecraft and then download the latest version of the game. Install the setup file and then launch the game, It should start without any error.
Finally…
As this is the end of the article, get started with fixing the game. In case of queries, place them in the comment section below!