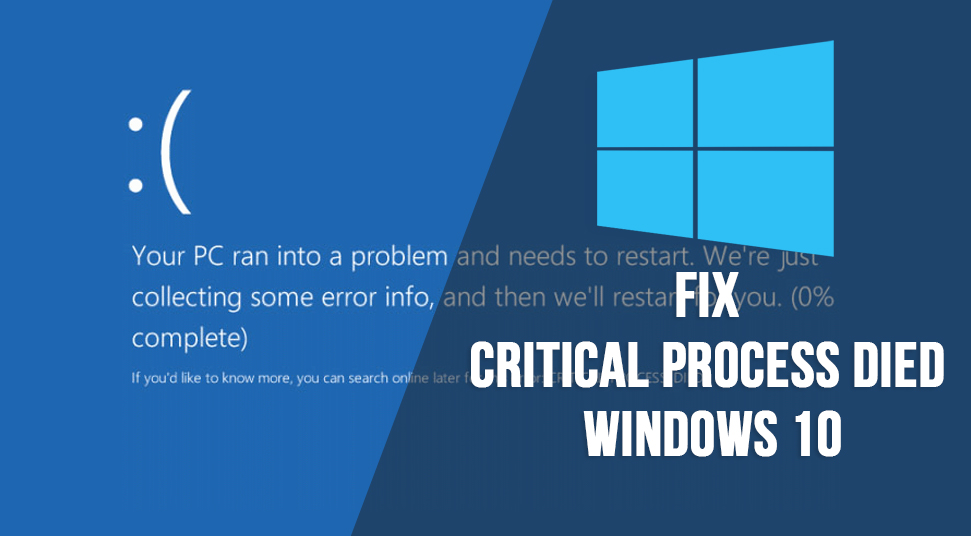
The critical process died on Windows is a common error that keeps coming up often. This problem Critical Process Died Windows 10 is triggered by BSOD. The reason why you get to see the critical error issue is because of certain components of Windows. These components include data within. Now, if the data within these components get modified then a critical error will show up.
To get more information on the critical process died windows 10 issue, read the contents below.
What Triggers Critical Process Error?
Well, if you look for reasons, then there are various elements that trigger the windows 10 critical process died error. Here’s a few of them listed below:
As mentioned before, the stop code critical process died error happens when there have been moderations done in data of windows component files. Another reason why critical_process_died could happen is if the system consists of a bad driver or if there is an error in the memory of the system. But to have a clear idea, there are to kinds of critical error that happens at two different times:
Critical Process Died After Update
Windows stop code critical process died happens right after a user has upgraded the system to the latest Windows version.
Critical Process Died After Sleep
Unlike the last one, this happens when a user has re-opened the system from sleep mode. Because of this, users become unable to continue their pending work.
And there are other four times when you’d get this error and you can pretty much get an idea by the name of what happens.
- “Critical Process Died After Installing The Creators”
- “Critical Process Died While Gaming”
- “windows 10 critical process died on boot”
- “windows 10 critical process died no safe mode”
The most annoying aspect of this issue is, that it could happen all of a sudden without any notice or any further explanation as to what is to be done. However, there are things that can be done in order to fix it.
Easy Steps on Fixing Critical Process Error
Now that you have an idea of the windows critical process died problem and its root, what you can do is, follow these easy steps below to fix the critical_process_died windows 10 problem.
1. Run System File Checker Scan
SFC scan is the most used and the most viable solution that fixes any Windows internal problem. However, it does not always give you the correct fix but you can still consider running out of SFC scan.
- First, go to the “Start” section for Windows and search for “Command Prompt”. Make sure that you open Command Prompt with administrative rights. When you’re in Command Prompt, write the following command at the cursor “sfc/scannow”
- After that, hit the” enter” key and wait for the Windows system to run a scan through the internal files of the system. Be in mind that it should take up to a few minutes to finish the scan and resolving the issue.
Once the process is over, you can restart the operating system and then verify if you get the error or not.
2. Run Quick Scan in Antivirus Program
It is needless to say that the possibility of malicious files, spyware, or adware within the system could be a reason for this error. In that case, it is always better to scan through the system using any anti-virus program. To do that, follow these steps:
- Click on the “Start” button and on the search field, write “defender”. Then click on the result that says “Windows Defender”. Once you’re in “Windows Defender”, navigate to the left panel and then choose the option called “Shield”.
- Now, when a new window opens, choose the option called “Advanced Scan” and then click on the “Full Scan” option.
- This process will scan through various files of the system such as local files, hard disk files and it could even take up to several minutes or hours. Be patient and wait it out. Once the scan is finished, restart the PC. If the error still occurs, do the following step.
3. Pause the Updates
According to various user reports, it is known that the latest Windows update is the reason why this error happens. In that case, what you can do is uninstall the updates in the following ways:
- First, go to the “Start” panel on Windows desktop and write “Settings’ in the search box. Click on the first result. Now when you’re in “Settings”, go to the section called “Windows Update”. From there, choose the option that says “Update History”. Then, click on the option called “Uninstall Updates”.
- Now, you will be redirected to new windows that consist of all the windows updates. From there, choose the latest one or the desired one that you’d like to uninstall and then simply click on the “Uninstall” button.
4. Install Latest Driver Update
Oftentimes, if you have a driver that is corrupted or not up to date, you’d be likely to get the error. In this case, here’s what you should consider doing.
- Go to Start and then open “Device Manager”. Then, check that all the drives installed are updated to their latest version. These drivers include sound cards, graphics cards, etc.
- You can choose to update individual drivers manually, or you can use third-party software that does the job for you automatically.
5. Do a Clean Boot
If you clean boot the system then the PC will start with a set of default configurations so that troubleshooting is easier. Do the following steps to clean boot the system.
- At first, go to the search box of the Start menu and type “System Configuration”. Then click on the first result. Now you’ll be redirected to the “Services” box. From here, locate the function called “Hide All Microsoft Services”. Then choose the option called “Disable All”.
- After that, click on the tab called “Startup”. Then click on the option called “Task Manager”. From there, select all the options on the list and simply disable all of them. Once that is done, exit the Task Manager. Then simply restart the operating system.
6. Run CHKDSK Scan
There is another way you can fix the error and that is by inspecting the disk. Use the built-in function of checking the disk.
- Go to “Start” and launch “Command Prompt”. Make sure you launch it with administrative rights.
- Then, when you’re in Command Prompt, write the following command at the cursor:
- “Chkdsk C:/f” and then hit the “Enter” key. Now, you can replace the “C” in the command line with other disks to run scans for those drive spaces.
- Another thing you need to keep in mind is that the “/f” parameter is used to repair problems related to the logical part of the system. And the “/r” parameter is used to repair any physical problem of the system. Run both the parameters.
7. Run DISM
This is the last solution you can use to fix the issue:
- First, go to “Command Prompt” with administrative rights and write the command mentioned below:
- “DISM/Online/Cleanup-Image/RestoreHealth”
- Then hit the “Enter” button. Now the scan will run. This process can take several minutes. Wait it out until the scan is over. Then, restart the PC and the error should be successfully resolved.
Conclusion!
Try these solutions and you should be good to go. If not, then you can place queries in the comment section!